Emailing Photographs

With the Easter break just finished, many of you will have traversed the countryside taking photos on your holidays (that is, if you could afford the fuel costs to do so!) With digital cameras being so popular and email now the preferred way to show your shots, I thought it now would be a good time to explain how to send your photos without causing your friends’ email accounts to overflow.

Many of today’s digital cameras have 8 megapixel sensors in them, meaning they can capture huge amounts of data with each press of the button. If you send a picture from one of these cameras without resizing it, not only will your friend have trouble seeing all of the picture on their screen at once, but they will curse you for sending so much data to the email account.

This is how you go about it:

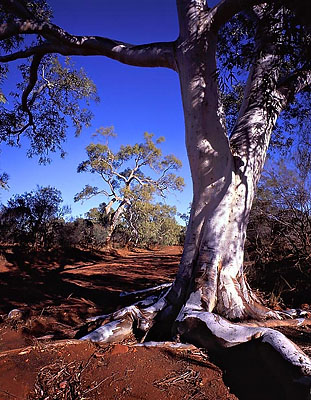
Station Ck, Leonora, WA


• The first step is to save your original picture to DVD or CD, since you really don’t want to lose it or otherwise damage it.

• Secondly, open your file in an image editing program like Photoshop or Corel (there are lots of them – I won’t list them all.)

• Look for a menu selection labeled“Resize” or “Image Size” and click on the link. You will be presented with a screen which enables you to choose how wide and tall the file will be. (Refer to the video on the right hand side to see how it's done. Sorry for the terrible sound quality ....)

• Ensure any box marked “Constrain Proportions” is ticked – that stops your picture changing shape, stretching the truth somewhat.

• Resize your image to be roughly 400 to 800 pixels on the longest side, whether that be its height or width.

• Sharpen the picture. This step is important because changing the size of the picture reduces the sharpness of edges in the shot. Sharpening can be done with a tool called the “unsharp mask” (the name refers to a photographic printing process). In Photoshop, that’s found in the “Filters” drop-down menu. (Good numbers to try are 180, 0.4 and 0 in the three boxes found in the dialog box, then play until it looks right.)


• “Save As” is the last step before sending your picture. Save the picture as a .jpg file with a quality/compression of around 6 or 7. You should aim to get a file of around 80 to 120 kb, the smaller the better. Photoshop will tell you how big the saved file will be in the “Save As” dialog box after you select the quality of the file. In the video, I elected to use the "Save For Web" function found in the full version of Photoshop for reasons best left to another tutorial.

• Save your shots in one location for ease of attaching the files to your email. Alternately, if you have a web site you can up-load them to, send them to the server and send a link to your friends – their email accounts will thank you.

Cheers,
Graeme

HOME